Choose a story small enough to finish
A vlog is a video told through your perspective. Your first one can be a recipe attempt, a making session or a behind-the-scenes look at your work. Write a one-sentence promise: “I am showing how I prepare this dish” is easier to film than “a day in my life” with no planned focus.
Decide who needs the video and what they should understand at the end. That decision gives you a way to cut repeated explanations later. You do not need several channels, an elaborate introduction or a daily publishing schedule to learn whether the format suits you.
Plan a beginning, a process and a result
Make a small shot list before recording. A spoken introduction gives context; a wider process shot explains the action; a close-up shows detail. Finish with the outcome and what you learned. These are different jobs for the camera, so give each a deliberate frame.
For example, a cooking vlog could open with the finished dish, return to the preparation and end with your reaction. A making vlog could begin with the problem and finish with the completed piece in use. Film details while they are available instead of trying to recreate them at the end.
| Shot | What to capture |
|---|---|
| Introduction | Who you are, what you are doing and why it matters |
| Process | A clear view of the activity, with short explanations |
| Detail | The texture, tool or change that needs a closer look |
| Result | The outcome and one useful takeaway |
Use a phone setup you can repeat
Choose portrait or landscape for the video you intend to make, then compose your important shots for that shape. Leave space around hands and objects. A crop from a wide video may cut away the very detail you were trying to show.
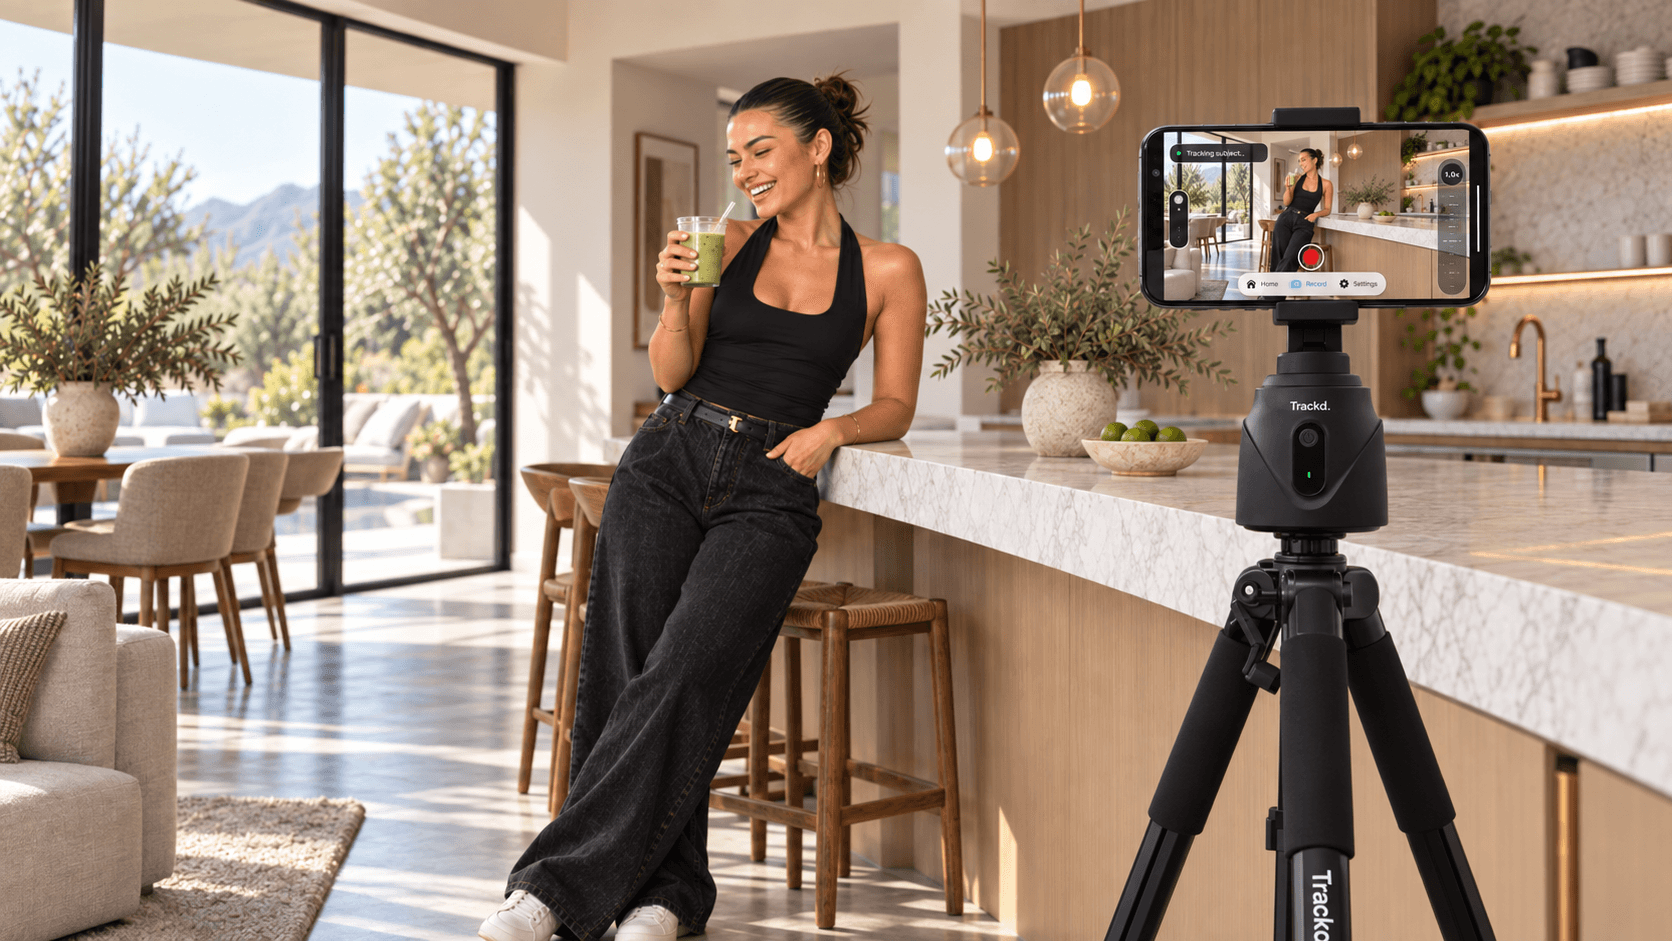
Start with a stable phone position and a quiet speaking spot. A fixed tripod can handle a seated introduction; a handheld shot can show your point of view. If you move while presenting, a tracking mount may help keep you in view. Record a short test and watch it back before committing to a long take.
Separate stationary presenting from walking footage
Trackd Solo Lock follows one selected person from a fixed mount position. It fits a presenter explaining or demonstrating something in a visible area. It does not move through the room with you, and it does not track the food or product you hold.
For walking footage, choose equipment and a filming method intended for a moving camera. You can combine that footage with stationary presenter clips in an edit. The choice is about the shot you need; every clip does not need automatic tracking.
Finish the first edit and learn from it
Review your clips, remove repeated starts and assemble a sequence that makes sense without extra explanation. Export recordings from Trackd before importing them into the editing or social app you want to use.
Watch the finished video on a phone with sound, then once without sound to see whether the visual sequence still makes sense. Note one thing to improve in the next recording: clearer audio, fewer cuts or better detail shots. Keep your setup notes so the next session starts faster.
Setup instructions and related guides
- Motorised phone mount for hands-free creator filming — See Trackd Solo Lock, iPhone requirements and Australian buying options.
- Film yourself with an iPhone
- Build an iPhone creator kit
- Tripod, tracking mount or gimbal?
- Export a recording
Frequently asked questions
Can I start vlogging with just my iPhone?
Yes. Start with a stable position, clear light and understandable sound. Buy accessories to solve a problem you can identify in a test recording.
Is vlogging the same as filming yourself?
Filming yourself is a capture technique. A vlog also needs a story or viewpoint that connects the clips. A simple introduction, process and result is a useful first structure.
See how Trackd fits your filming setup
Explore one-person Solo Lock filming, compatible iPhones and the Trackd Mount. Check the setup requirements before choosing your equipment.