
Choose the explanation before the camera angle
List the steps the viewer needs to see: the starting position, the movement and the finish. Decide which details are visible from the front and which need a side view. A visually dramatic angle may hide the detail your explanation depends on.
This guide covers filming, not exercise instruction or assessment. Use an appropriately qualified source for the exercise itself. Camera perspective can make movement look different, so footage alone is not a reliable substitute for individual coaching.
Test standing and floor positions
Place the phone on a stable support away from the area you use. Rehearse the whole demonstration, including reaching, bending and changing levels. Check that equipment and your body remain visible without moving the camera halfway through a step.
For mixed standing and floor sections, record a test of both before the full take. If one view cannot show both clearly, divide the tutorial into separate shots and reset the camera between them. This often makes the explanation easier to follow too.
| Tutorial moment | Filming check |
|---|---|
| Standing introduction | Face and gestures visible; voice understandable |
| Side-on demonstration | The relevant movement is visible without an extreme angle |
| Floor section | Subject still in frame at the lowest point |
| Equipment detail | A separate fixed close-up shows the item clearly |
Use tracking only when it serves the demonstration
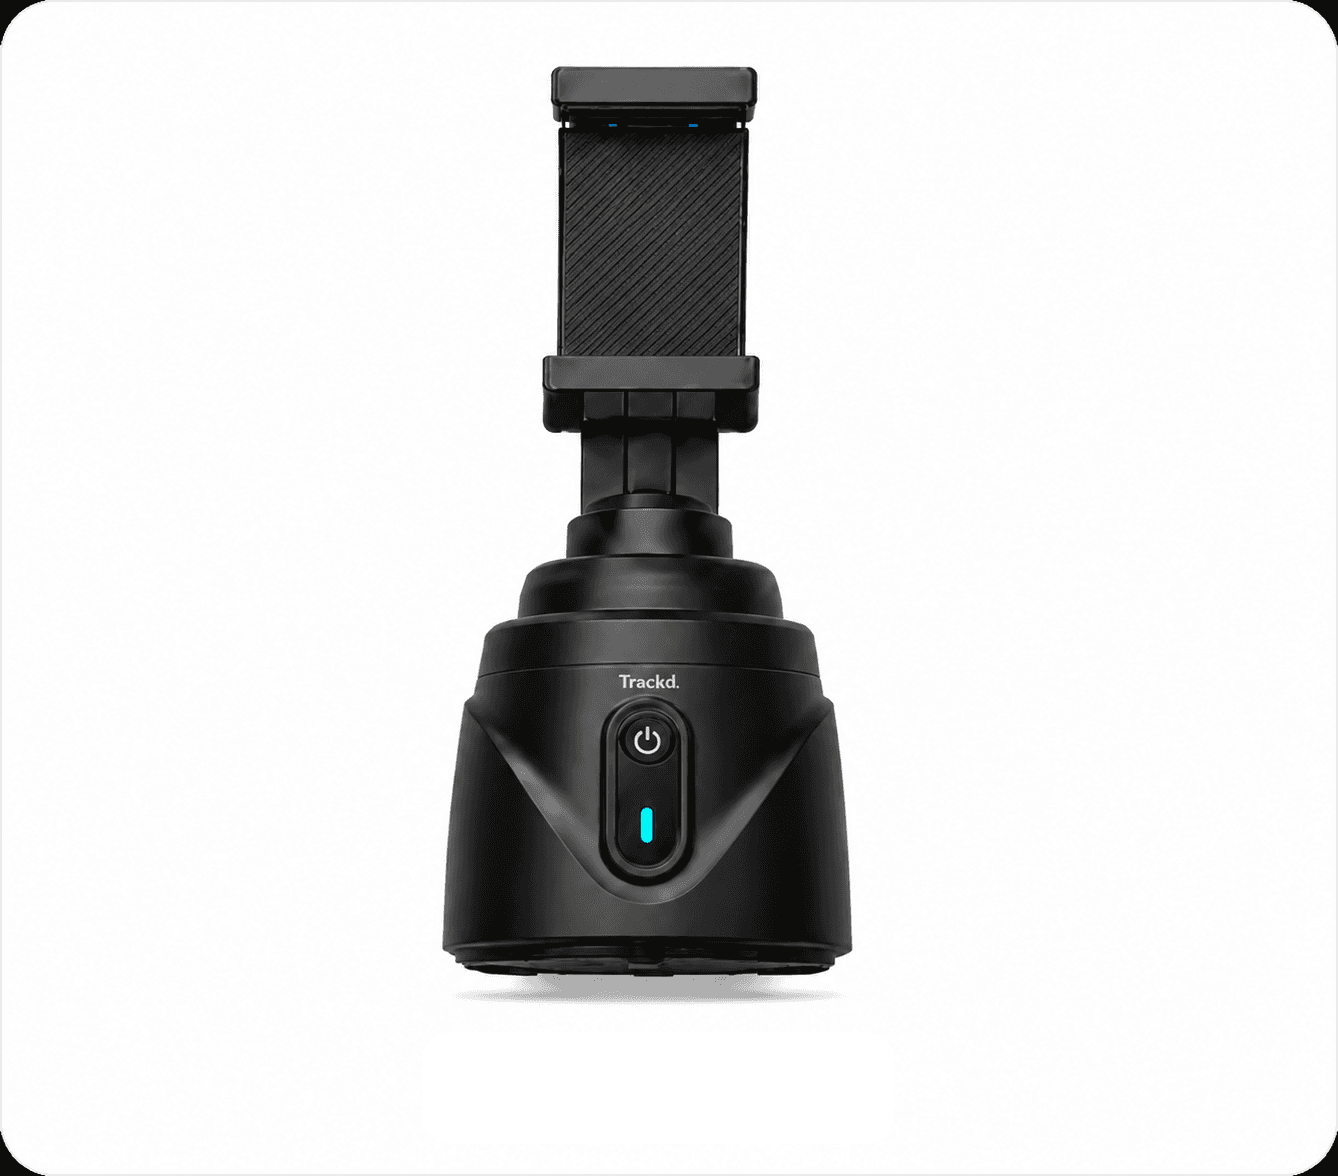
Trackd Solo Lock follows one selected person from a fixed mount position. It can help with a presenter moving in a visible area. It does not promise automatic framing of every floor movement, exercise detail or piece of equipment.
If a demonstration is mostly stationary, a fixed composition can keep the reference view consistent. If you use Solo Lock, test the exact transition that is most likely to change the framing. Keep other people from crossing the camera view during the take where practical.
Make spoken cues understandable
Record your voice at the same camera distance and volume you will use in the tutorial. Listen to the saved clip for room noise, equipment sounds and changes when you turn away. Check any microphone with the recording app before relying on it.
You can record the explanation before or after the demonstration instead of trying to speak continuously through every movement. Keep the wording connected to the visible step so the edit does not create confusing timing.
Review the saved take and the final crop
Check that the start and finish of each demonstration are included. If you add captions, place them where they do not cover the detail being explained. Keep a complete reference take before making a shorter version.
Export footage from Trackd and open it in the editor or destination app. Watch the final crop on a phone: a video that works in a large preview can lose important detail once it is displayed smaller or cropped vertically.
Setup instructions and related guides
- Motorised phone mount for hands-free creator filming — See Trackd Solo Lock, iPhone requirements and Australian buying options.
- Film yourself with an iPhone
- Light your phone videos
- Solo Lock instructions
- Export a recording
Frequently asked questions
Will a tracking mount correct my workout form?
No. It controls filming direction; it is not a form assessment or coaching service.
Can I film a tutorial without person tracking?
Yes. A fixed phone view is often useful for a stationary demonstration. Leave enough room for the full movement and check the saved test.
See how Trackd fits your filming setup
Explore one-person Solo Lock filming, compatible iPhones and the Trackd Mount. Check the setup requirements before choosing your equipment.