
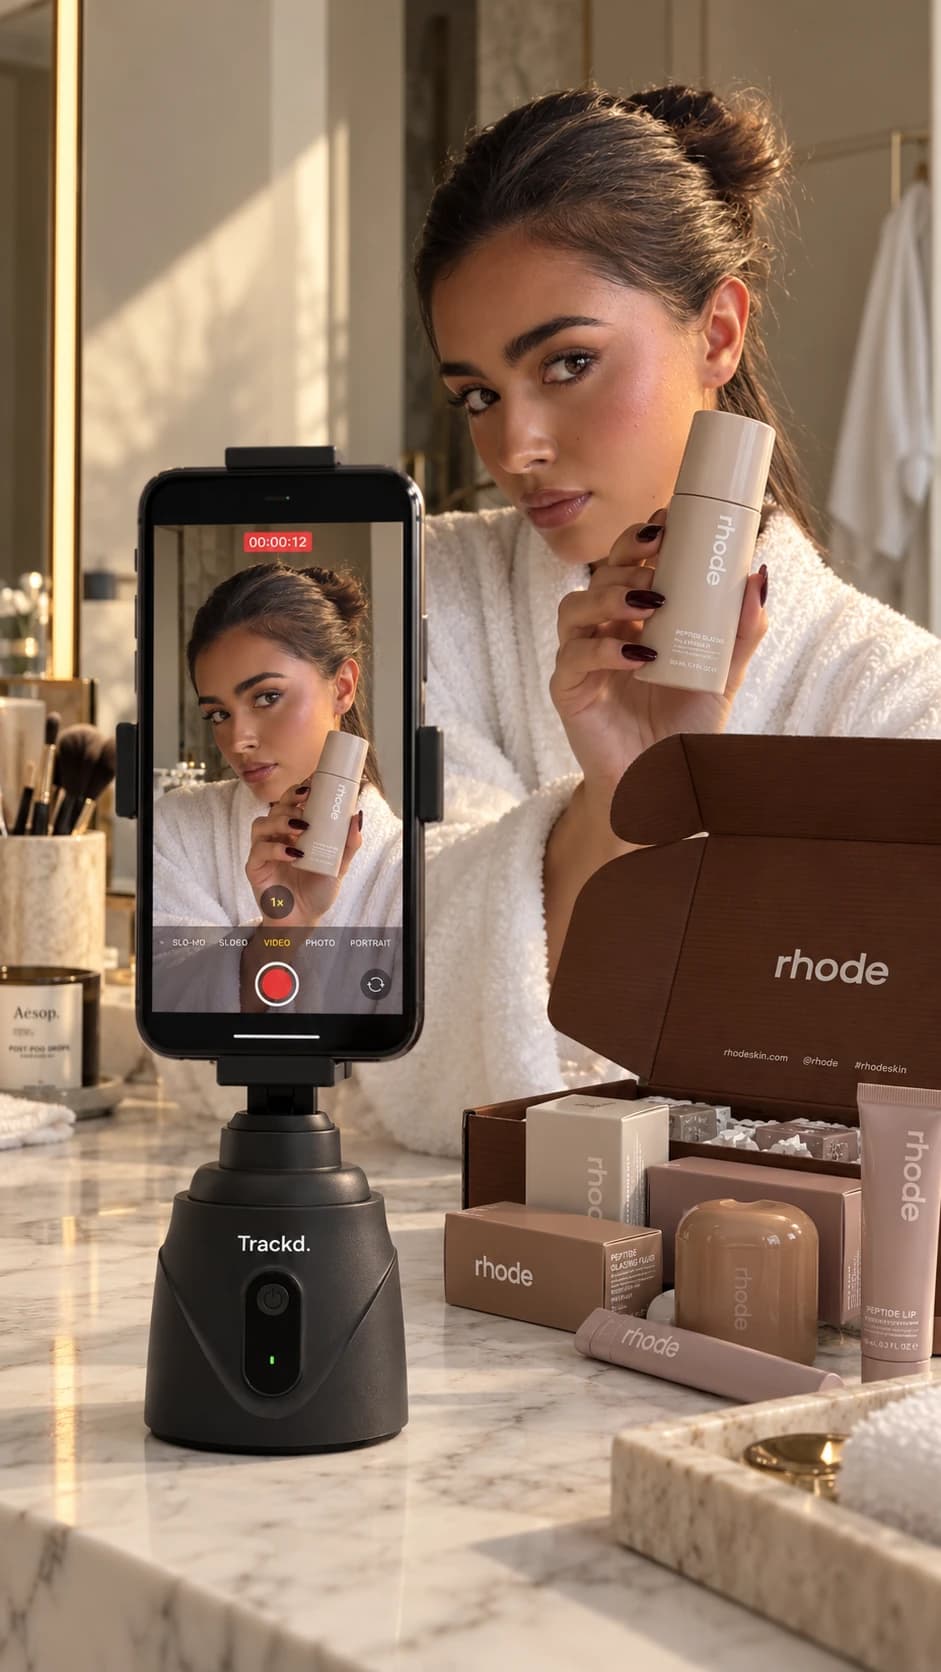
Place yourself before changing camera settings
Choose the part of the room where your face and demonstrated object are both clear. A window can provide a useful starting light source. Turn yourself and the camera to compare the result rather than automatically putting the brightest window behind you.
Move through the area you will use in the real recording. A starting position can look good while the next step takes you into shade. If the light changes sharply across the area, adjust the filming position or keep the demonstration within a more consistent patch.
Check faces, hands and reflective products separately
A light position that looks flattering on a face may create glare on a bottle or hide the texture of food. Hold the actual product where it will appear and watch how reflections change as you turn it.
Make a separate fixed close-up when the detail needs its own lighting angle. This is useful for beauty packaging, shiny tools and cooking ingredients. Person tracking keeps attention on the presenter; it does not guarantee an object is readable or correctly lit.
| What the test shows | What to try first |
|---|---|
| Face is dark beside a bright window | Turn the setup so more light reaches the face |
| Packaging has a bright reflection | Change the product or light angle and retest |
| Brightness changes during movement | Use a more consistent area or separate takes |
| Face looks clear but hands disappear | Reframe and check light at the working surface |
| Different takes have different colour | Keep the light sources and camera setup consistent |
Understand which app controls you are using
In Apple’s Camera app, supported controls let you adjust focus and exposure; Apple documents holding the focus area to use AE/AF Lock. That is guidance for Apple Camera. Do not assume its buttons or saved settings behave the same way inside Trackd or another recording app.
Use the controls available in the app you are actually recording with and review the saved result. If you move toward or away from the phone, retest focus instead of locking a setting once and assuming it fits every distance.
Keep a repeatable position for several takes
When recording a sequence, note where the camera, presenter and light are positioned. Avoid moving the support between takes unless you deliberately want a different shot. If daylight changes substantially, review how the new clip matches the earlier one.
Adding a lamp can help when you need a consistent source, but test how it looks with other lights already in the room. Take a short video rather than judging from a still image alone. Watch it back for distracting changes or flicker.
Finish with a real filming test
Record your introduction and the widest movement of the demonstration. Hold any product at the position you plan to use, then check the clip with sound. The test should resemble the actual take closely enough to reveal problems.
For Trackd Solo Lock, keep yourself visible from the fixed mount position and verify the framing along with the lighting. Save the good setup and repeat it next time. Improve one visible problem at a time so you can tell which change helped.
Setup instructions and related guides
- Motorised phone mount for hands-free creator filming — See Trackd Solo Lock, iPhone requirements and Australian buying options.
- Film yourself with an iPhone
- Build an iPhone creator kit
- Beauty tutorial filming
- Apple Camera focus and exposure guidance
Frequently asked questions
Do I need a ring light to film phone videos?
No. A useful window position or another suitable light may be enough. Add equipment when a test reveals a problem you cannot solve with placement.
Should I lock exposure before every video?
It depends on the recording app, light and movement. Apple Camera offers documented focus/exposure controls, but those are not instructions for Trackd. Test the actual recording setup.
See how Trackd fits your filming setup
Explore one-person Solo Lock filming, compatible iPhones and the Trackd Mount. Check the setup requirements before choosing your equipment.